
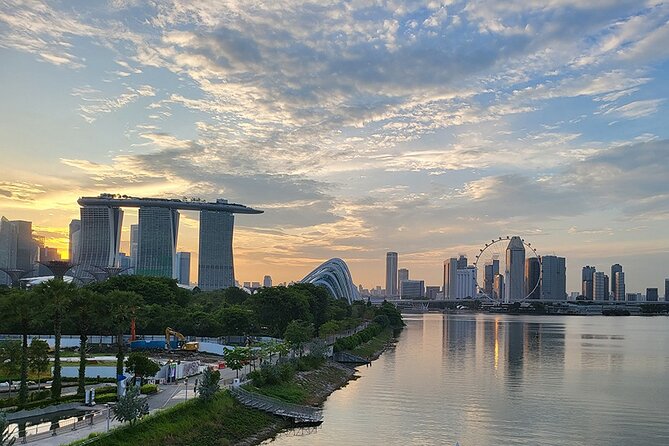
Hawker stalls to Supertrees.
Kaya toast at seven, a bumboat down the river at dusk, Sentosa on the day the kids run out of patience. What each tour is actually like, what it costs, and where to book it.
Seven that fill a Singapore week.
The observation deck at blue hour. A bumboat that finishes under the Merlion. A hawker crawl through Maxwell and Chinatown Complex. The night the zoo stays open until midnight. This is what a first trip gets built around.
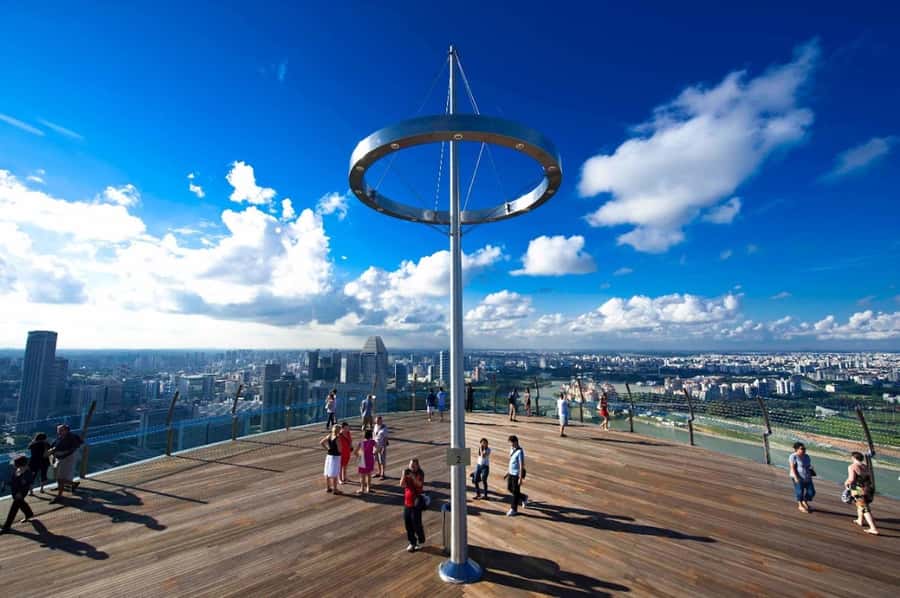
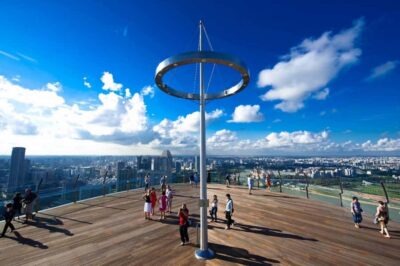
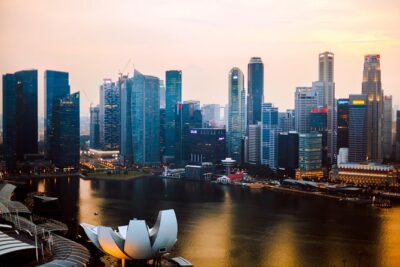
Marina Bay Sands Observation Deck E-Ticket
Skip-the-line access to Marina Bay Sands SkyPark for 360-degree skyline views, Supertree Grove sights, and included digital photos.
From $27 per person
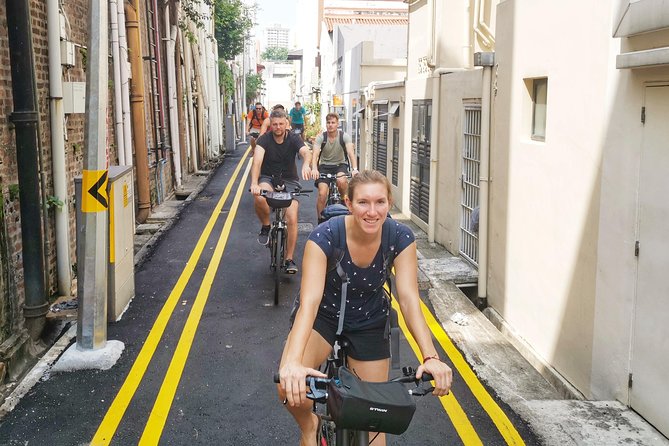
Read the full review →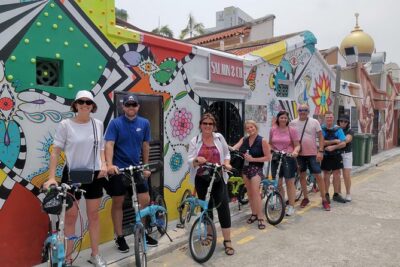 ★ 5.0Books out by noonLion City Bike Tour of SingaporeFrom $686,211 reviews
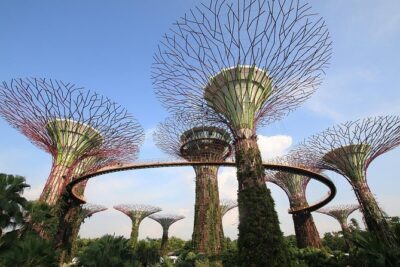 ★ 4.4Family pickGardens by the Bay Admission E-TicketFrom $73,498 reviews
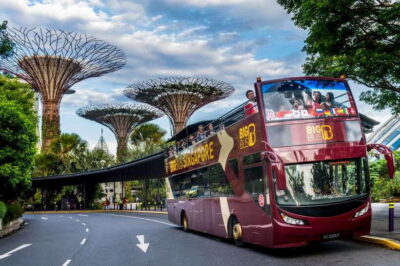 ★ 4.5Blue-hour pickBig Bus Hop-On Hop-Off Tour by Open-Top BusFrom $513,261 reviews
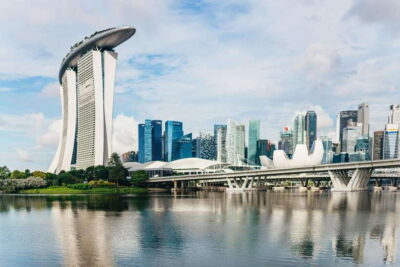 ★ 4.9Rain-proofLion City Highlights Bike TourFrom $672,010 reviews
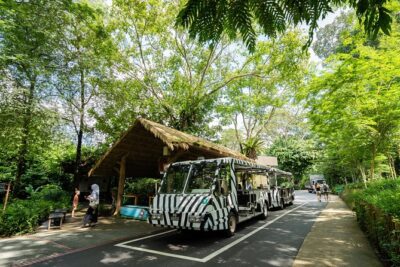 ★ 4.0Day-one pickMorning at the Zoo with 1-way Transfer (Free & Easy)From $871,882 reviews
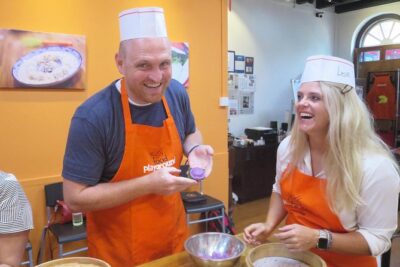 ★ 5.0Late-day pickExperience Singapore: Cultural Cooking ClassFrom $961,514 reviews
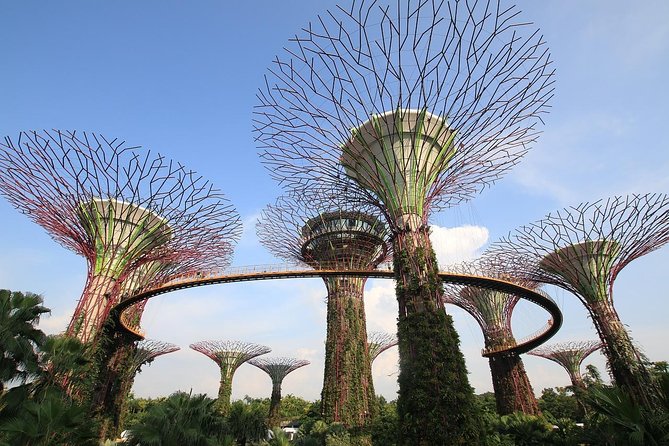
Everything points at the bay.
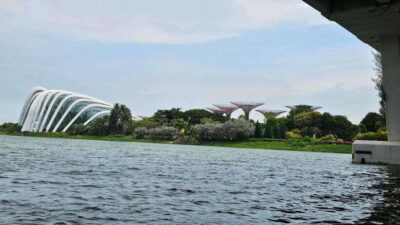
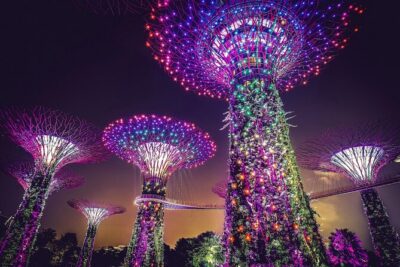
Two cooled conservatories under glass, eighteen Supertrees strung with orchids, a hotel with a boat on the roof, and a promenade you can walk end to end before dinner. Book the deck and the domes on the same evening and you get the skyline twice, once in daylight and once lit.
How many hours do you actually have?
More people pass through Singapore than stop in it, and the island gives back something different at six hours, one day and a long weekend. Pick the stay that matches your dates; everything behind it is costed out and bookable today.
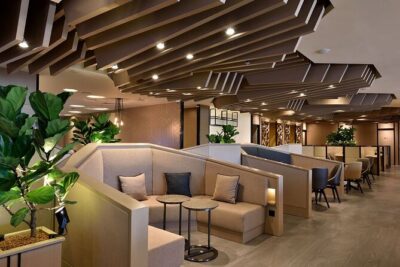 Between flights
The long layover
from $43 · 688 reviews
Six hours or more and you can clear immigration, get into town and be back at the gate without sweating it. Jewel and its indoor waterfall sit before passport control; the free city tour and the short guided runs to Chinatown and the bay cover the rest. Keep three hours of buffer and it works.
See the Changi options →
One day only
One day flat
1 - 2 days · from $51 · 3,261 reviews
Merlion and the civic core in the morning while it is still bearable outside, the domes at Gardens by the Bay through the hot middle of the afternoon, then a river cruise at six and Spectra from the boardwalk at eight. One loop, no doubling back.
Compare the day tours →
Between flights
The long layover
from $43 · 688 reviews
Six hours or more and you can clear immigration, get into town and be back at the gate without sweating it. Jewel and its indoor waterfall sit before passport control; the free city tour and the short guided runs to Chinatown and the bay cover the rest. Keep three hours of buffer and it works.
See the Changi options →
One day only
One day flat
1 - 2 days · from $51 · 3,261 reviews
Merlion and the civic core in the morning while it is still bearable outside, the domes at Gardens by the Bay through the hot middle of the afternoon, then a river cruise at six and Spectra from the boardwalk at eight. One loop, no doubling back.
Compare the day tours →
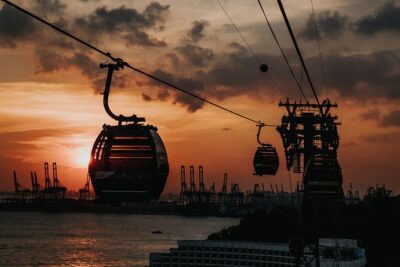 Two nights plus
The full weekend
from $24 · 1,449 reviews
With a second and third day the island opens up: Sentosa by cable car, a bicycle and a bumboat out to Pulau Ubin, and the night safari tram after dark. This is where the quarters get their own morning each instead of a rushed hour.
See the Sentosa days →
Two nights plus
The full weekend
from $24 · 1,449 reviews
With a second and third day the island opens up: Sentosa by cable car, a bicycle and a bumboat out to Pulau Ubin, and the night safari tram after dark. This is where the quarters get their own morning each instead of a rushed hour.
See the Sentosa days →
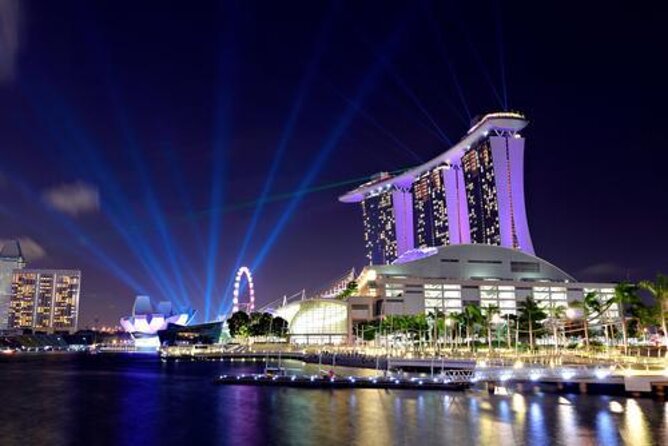
Everything good happens after 7.45.
Garden Rhapsody at 7.45 and again at 8.45. Spectra off the Sands boardwalk on the hour after eight. The night safari tram rolling into the dark while half the island is still eating. Singapore cools down and opens up at the same moment, and the good evening slots go early.
Every queue is a recommendation.
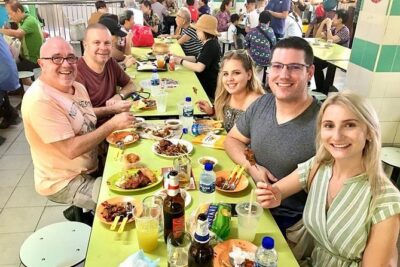
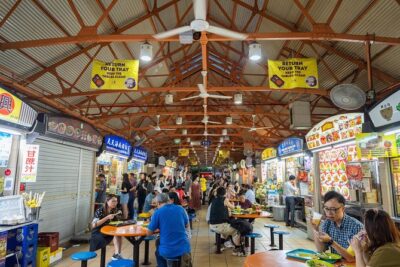
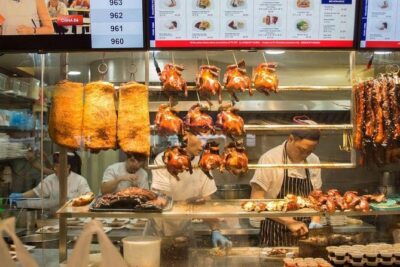
Chilli crab at a seafood centre with newspaper on the table. Chicken rice from a stall that has sold one dish for forty years. Kaya toast and a soft egg before the heat arrives. Three hours with someone who knows the stalls beats a week of guessing.

The river still runs the city.
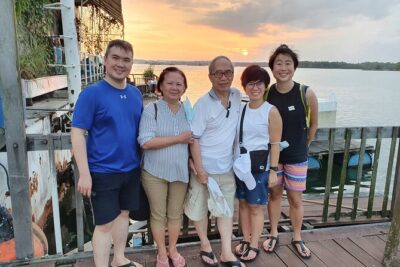
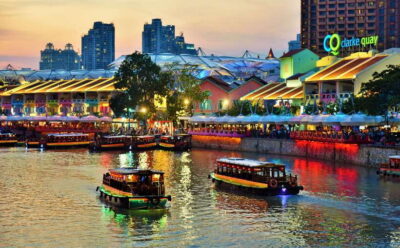
Bumboats out of Clarke Quay, past the old godowns and under five bridges in forty minutes. Kayaks in the mangroves at Pulau Ubin, where the kampong houses and the wild boar are both still there. A ferry that lands you somewhere with no cars on it.
The shophouses came first.
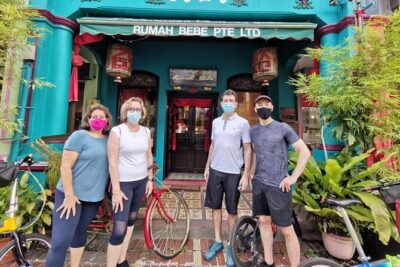
Clan associations and medicine halls in Chinatown, garlands and gold on Serangoon Road, tiled five-foot ways through Joo Chiat, and Kampong Glam under the golden dome. An hour on foot in any of them explains more about the place than the skyline ever will.
Take them one quarter at a time.
Chinatown for the medicine halls and the hawker centre above them. Little India for garlands and banana leaf. Kampong Glam for Haji Lane before the shutters come down. Joo Chiat for the tiled fronts. Marina Bay for eight o'clock.
Work back from what you feel like.
Twelve ways into a small island: on foot through the quarters, on the water at dusk, in a cable car over the harbour, or somewhere cool and dark while the afternoon storm empties itself out.

There is more island than you think.
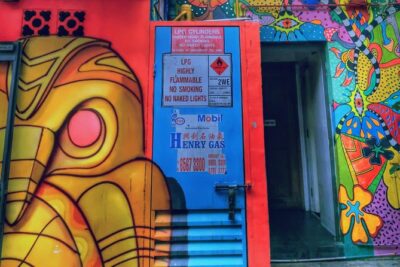
Sentosa is ten minutes away by cable car. Pulau Ubin still runs on bicycles and a bumboat that leaves when it has twelve people in it. And if you have a spare night, the causeway puts Malacca and Kuala Lumpur inside a morning's drive.

What to do with seventy-two hours.
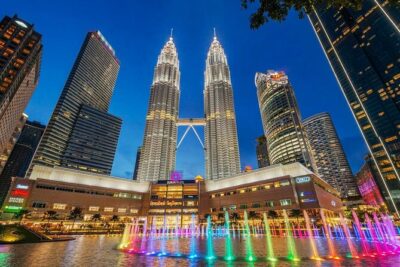
You will not need longer, and you should not try to fold it into one. Quarters first while your legs are fresh, the bay on the second day when you know where things are, the islands on the third.
 Day 1
The quarters on foot
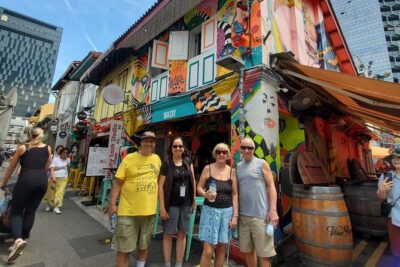
Breakfast upstairs at Chinatown Complex, the medicine halls and the temple after, then Serangoon Road for garlands and a banana-leaf lunch. Finish on Haji Lane before the shutters come down.
Plan the walking day →
Day 1
The quarters on foot
Breakfast upstairs at Chinatown Complex, the medicine halls and the temple after, then Serangoon Road for garlands and a banana-leaf lunch. Finish on Haji Lane before the shutters come down.
Plan the walking day →
 Day 2
The bay, all day
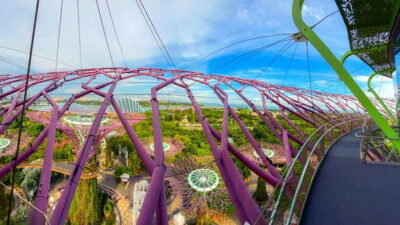
The domes at opening while the air inside is still cold, the SkyPark deck around four, a bumboat down the river at six, then Spectra from the boardwalk at eight.
Plan the bay day →
Day 3
Off to Sentosa
Cable car from Mount Faber, a beach afternoon, and either the luge or the aquarium depending on what the sky is doing. Night safari after dark if anyone still has legs.
Plan the island day →
Day 2
The bay, all day
The domes at opening while the air inside is still cold, the SkyPark deck around four, a bumboat down the river at six, then Spectra from the boardwalk at eight.
Plan the bay day →
Day 3
Off to Sentosa
Cable car from Mount Faber, a beach afternoon, and either the luge or the aquarium depending on what the sky is doing. Night safari after dark if anyone still has legs.
Plan the island day →
Latest Singapore tour reviews.
 ★ 4.5eSIM 4G/5G Data for Asia 8 Areas Singapore Thailand MY VN HK TWFrom $34 reviews
 ★ 5.0Singapore’s Marina Bay Wonders and Heritage Tales, ChinatownFrom $935 reviews