
Reviewed · SINGAPORE TOURS
Singapore: M1 Tourist SIM Simcard
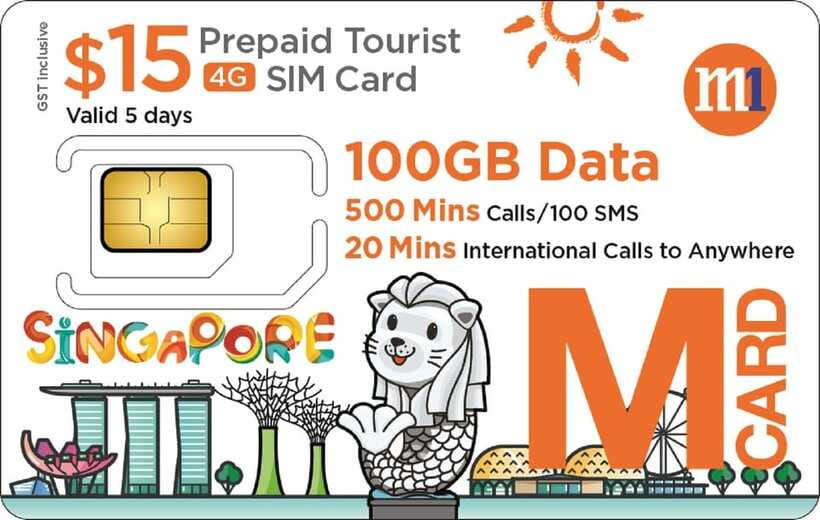
Getting online in Singapore should be this easy. With an M1 Tourist SIM/eSIM, you can grab your connection at Changi Airport on arrival and start using maps, messaging, and social apps right away.
What I like most is how direct the plan is for landing travelers, and how quickly you can move on to the fun parts of the trip instead of hunting for a store.
I also really like the size and mix of the bundle: you get 100 GB local data plus included call and SMS minutes, all meant for daily sightseeing and getting your plans across the group. One thing to watch is that redemption is Changi-only, and your voucher details need to match what the airport counters can scan, or you can waste time at the wrong desk.
Key things I’d plan around
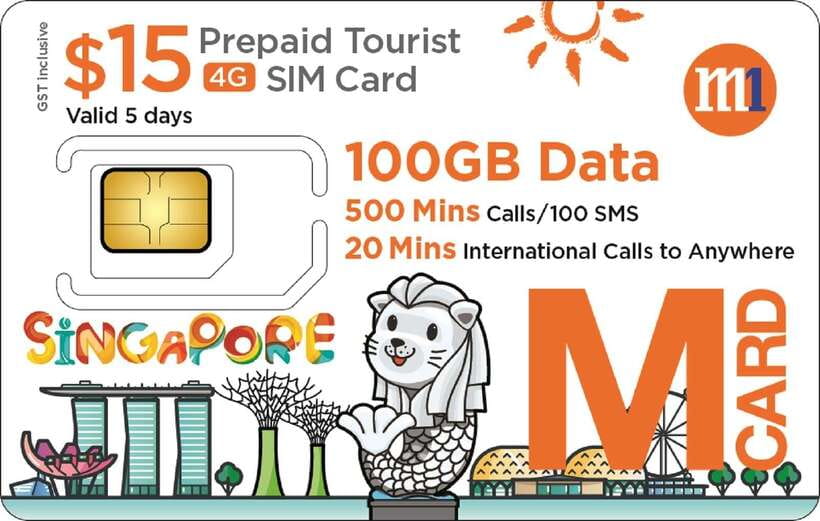
- Changi Airport pickup only: you redeem inside the airport, and you’ll need to pick the right terminal area
- Instant activation on registration: you must bring your passport and complete setup there
- Big local data for the Singapore days: 100 GB local data is built for maps, rides, and posting
- Roaming pocket for nearby countries: 3 GB roaming data for Malaysia, Indonesia, Hong Kong, Macau, and Taiwan
- Phone compatibility matters: it’s for a 3G/4G phone, and SIM sizes vary (Regular, Micro, Nano)
Other Singapore bookings that would slot into the same half-day.
- Lion City Bike Tour of Singapore★ 5.0 · 6,211 reviews
- Singapore: Gardens by the Bay Bundle Entry Ticket★ 4.3 · 3,726 reviews
- Singapore: Big Bus Hop-On Hop-Off Tour by Open-Top Bus★ 4.5 · 3,261 reviews
- Singapore: Lion City Highlights Bike Tour★ 4.9 · 2,010 reviews
Where to pick up your M1 SIM at Changi
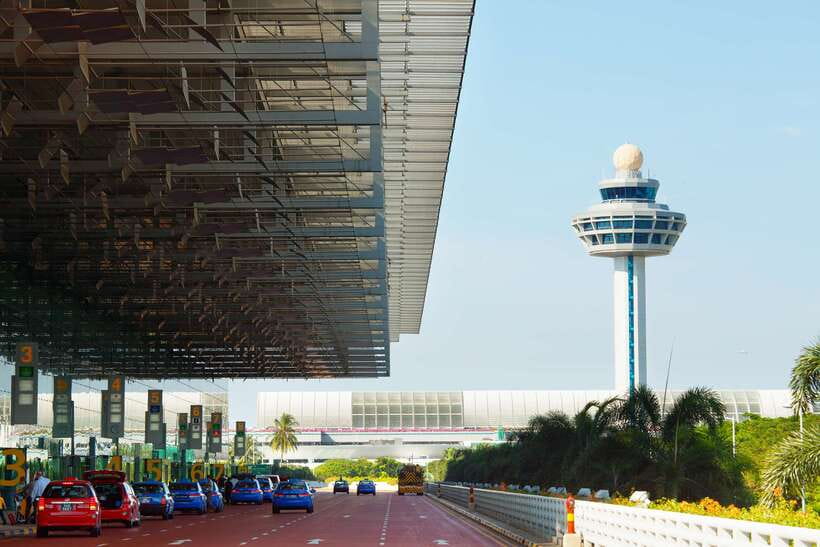
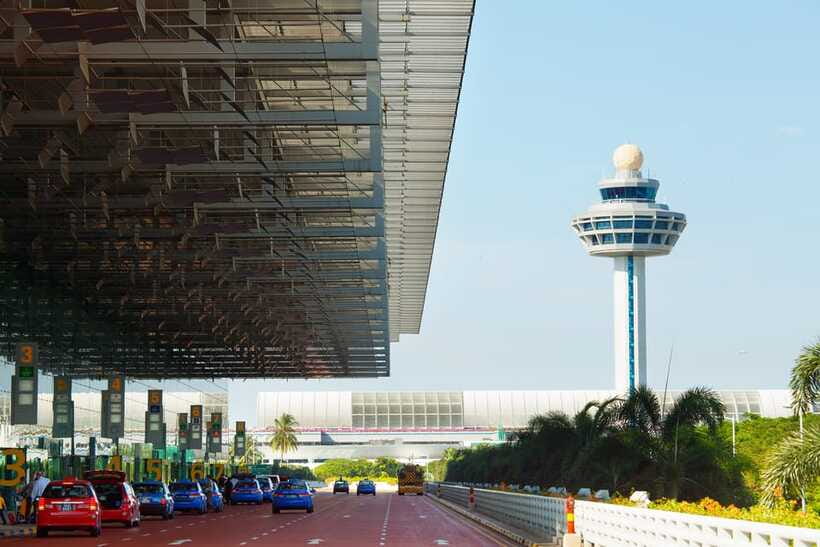
This is a straightforward “arrive, redeem, get online” setup. Your pickup happens at Changi Airport only, with multiple collection points so you can match where you land. The goal is simple: don’t make yourself cross the city right after a long flight.
Use the collection location that fits your arrival terminal. The listed options include Terminal 1 Arrival Hall (T1C, plus several Terminal 1 meet and greet style points such as FX Arrival East/West), Terminal 2 Arrival Hall (T2A), and Terminal 4 (T4). If you’re arriving at Terminal 3, there are also meet and greet options noted for T1/T3/T4, so you’re not stuck looking for a generic counter.
Practical tip I’d follow: plan your route before you exit immigration. Once you’re done, go straight to the correct terminal arrival hall or the meet and greet point listed for that terminal. If you wander, you burn time, and this kind of airport errand is best done with purpose.
Also, the activity notes say it is wheelchair accessible, which is good if you need smoother movement through the pickup area.
Price and what you truly get for it
The info you’ll see can show a couple of price points (one part lists $6 per person, another lists M1 $12 Tourist SIM or eSIM). Because the numbers differ, I treat this as a “confirm what you’re selecting at checkout” situation. What matters is the value you get for whichever option you’re paying for.
Here’s the value math that I care about for a Singapore trip:
- 100 GB local data for the plan’s use in Singapore
- 3 GB roaming data for a handful of nearby destinations (Malaysia, Indonesia, Hong Kong, Macau, Taiwan)
- International calls: 30 minutes
- Local outgoing and incoming calls: 500 minutes
- Local SMS: 100
- Validity: 15 days
For most visitors, the real win is the 100 GB local data. You can use ride apps, translate on the fly, check train and bus routes, and keep family updated without rationing your data every day.
If you’re the kind of traveler who relies heavily on photos and maps, the included data is the main reason this can be worth it. If you only check messages occasionally, you might not need that much data, but having it lets you travel without the mental math.
One more value point: the plan includes options for SIM sizes (Regular, Micro, Nano), so it’s less likely you’ll end up with a SIM that doesn’t fit your phone model.
Redemption details that can make or break a smooth pickup

This is where I’d be most careful. The plan is described as Changi-only redemption, and the airport process requires your passport and an activation step on registration.
The important practical bits:
- You can present a printed or mobile voucher.
- An actual person must be present with the passport for verification.
- All SIM cards must be activated upon registration.
There’s also a specific warning tied to the voucher and airport redemption system. It says you should ensure tourists select the correct redemption at Changi Airport, and that the redemption ticket needs a CTS code on it. It also notes that tourists won’t be able to swap if the M1 shop can’t redeem via CTS code.
So here’s my advice in plain terms: before you head to the counter, double-check your voucher screen. Make sure it’s meant for Changi Airport redemption, and that the ticket includes the CTS code referenced in the instructions. If you’re missing that, you might face a stall while staff confirm eligibility.
Finally, one more phone-related “don’t get surprised” note: the card is for 3G/4G phone use only. That matters if your phone is older, or if you’re assuming it works in a newer “non-3G/4G” way. If you’re unsure, check your handset specs before you land.
Setup speed at the airport, and what activation really means
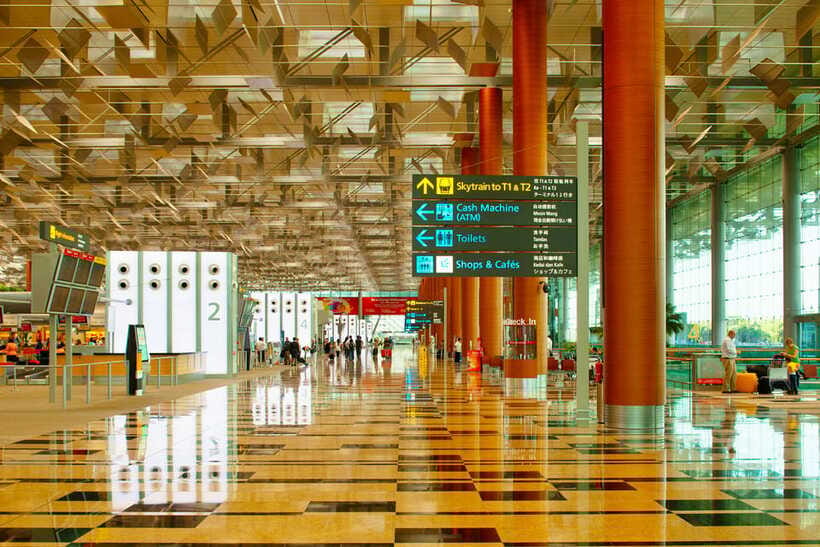
You’ll likely hear “setup is fast” in the description, and the key operational detail is that the SIM must be activated during registration. That means you’re not just picking up a card and walking away.
Expect this flow:
- Bring your passport and your voucher (printed or mobile).
- Go to the right Changi collection point for your terminal.
- Register and activate the SIM/eSIM at the spot.
Because activation is part of the process, you should leave a little buffer time after arrival and immigration. Not hours, just enough that you’re not stressed if the line is longer than expected.
If you’re using an eSIM option, the listing notes it as an available alternative, but redemption is still at Changi. That’s a good model for travelers who don’t want to swap physical SIMs, but the consistent truth is you still need to redeem and complete activation at the counter.
Also, top-ups are described as not available for this tourist SIM. At the same time, there’s a note that validity can be extended by doing top-ups. Since those statements conflict, I’d treat this as a “verify at redemption” point. If extension by top-up is important to your plan, confirm what the staff will actually do when you redeem.
Data and calling basics for 15 days in Singapore
Once you’re activated, this plan is built for daily connectivity: staying in touch, checking transit routes, posting updates, and coordinating meetups.
Here’s how the included services translate into real travel usefulness:
- 100 GB local data: enough for heavy map use, rideshare calls, messaging, and regular social media browsing without constant worry. It’s especially helpful if you take lots of photos and upload them quickly.
- Local outgoing and incoming calls: 500 minutes: useful if you’re calling local numbers or keeping a more traditional call method for family coordination.
- Local SMS: 100: handy as a backup option when apps are slow.
- International calls: 30 minutes: useful if you need to place actual calls home for key moments, not just messaging.
If you’re the type who likes to keep communication simple for your group, included call minutes can reduce friction. If your whole life is WhatsApp and social, you may not touch the minutes much, but it’s still comforting to have.
Also, because the plan is 15 days long, it’s not limited to a single “short window” in Singapore. That helps if you’re doing a slower trip, adding day trips, or just taking your time between neighborhoods.
Roaming coverage: what it means if you cross borders
The plan includes 3 GB roaming data for Malaysia, Indonesia, Hong Kong, Macau, and Taiwan. That’s not “unlimited,” but it’s a valuable safety net if you hop across one or two borders during the same overall trip.
So think of roaming here as:
- enough to keep your maps working and stay in touch,
- enough for quick updates and messaging,
- not enough to treat roaming like home broadband.
If your itinerary includes multiple countries beyond those listed, you might need a backup plan. But for common regional add-ons, the included roaming coverage can save you from buying multiple local SIMs.
One practical habit: if roaming costs are a concern, monitor your data usage after you cross the border. Even with 3 GB, watching usage prevents the “oops” moment.
Who this SIM is best for (and who should skip it)
I’d recommend this M1 Tourist SIM/eSIM if you fit any of these:
- You land at Changi and want connectivity immediately without hunting down a storefront.
- You want one plan for Singapore with enough data to get through busy days.
- You care about staying reachable for family and friends without expensive roaming add-ons.
- Your phone supports 3G/4G, and you’re okay with activating on arrival.
I’d be more cautious if:
- Your arrival timing is chaotic and you’re worried about lines inside the airport.
- You’re relying on a voucher that might not clearly show the CTS code and correct Changi redemption details.
- You need top-ups to extend usage and you don’t want to depend on what staff can or cannot do during redemption.
If you’re traveling with a group, this is also a decent plan because it’s simple to explain: pick up at the terminal area, activate with a passport, and go.
Should you book the M1 Tourist SIM/eSIM?
Yes, I’d usually book this kind of plan for Singapore, because the value is clear: 100 GB local data plus call and SMS minutes, activated in the airport so you can start using your phone as soon as you arrive. It’s the kind of practical purchase that prevents stress and wasted time later.
But I’d book it only if you’re careful with the details that matter:
- Make sure your voucher is for Changi Airport redemption.
- Double-check it has the CTS code referenced in the instructions.
- Bring your passport and be ready for on-the-spot activation.
- Confirm your phone is a 3G/4G device.
If you want peace of mind on arrival, and you’re planning to use data for navigation and communication every day, this is a solid, low-hassle choice.
FAQ
Where do I redeem the M1 Tourist SIM or eSIM?
You can redeem it at Changi Airport only, using one of the listed collection locations in the airport terminals.
What do I need to bring for pickup?
You need your passport for registration, and an actual person must be present for verification.
Which airport areas can I collect it from?
Collection locations include T1C (Terminal 1 Arrival Hall), T2A (Terminal 2 Arrival Hall), T4 (Terminal 4 arrival counter), plus several meet and greet points and FX arrival or transit points in Terminal 1 and Terminal 4 areas.
How long is the plan valid?
The validity is 15 days. The information also says validity can be extended by top-ups, but it separately notes top-ups are not available for this tourist SIM, so confirm at redemption.
Does it work on any phone?
The card is for use on a 3G/4G phone only. It is offered in Regular, Micro, or Nano sizes.
How much data do I get for Singapore?
You get 100 GB local data for the plan.
Is there roaming data for other countries?
Yes, there is 3 GB roaming data listed for Malaysia, Indonesia, Hong Kong, Macau, and Taiwan.
Can I get a refund if I change plans?
Yes, the activity notes free cancellation up to 24 hours in advance for a full refund.
More Tour Reviews in Singapore





Newest on the Singapore beat


Singapore Tours, side by side.
 ★ 4.5Marina Bay Sands Observation Deck E-TicketFrom $276,483 reviews
 ★ 5.0Lion City Bike Tour of SingaporeFrom $686,211 reviews
 ★ 4.3Gardens by the Bay Bundle Entry TicketFrom $73,726 reviews
 ★ 4.4Gardens by the Bay Admission E-TicketFrom $73,498 reviews
 ★ 4.5Big Bus Hop-On Hop-Off Tour by Open-Top BusFrom $513,261 reviews
 ★ 4.5Singapore River CruiseFrom $202,388 reviews
 ★ 4.9Lion City Highlights Bike TourFrom $672,010 reviews
 ★ 5.0Experience Singapore: Cultural Cooking ClassFrom $961,514 reviews